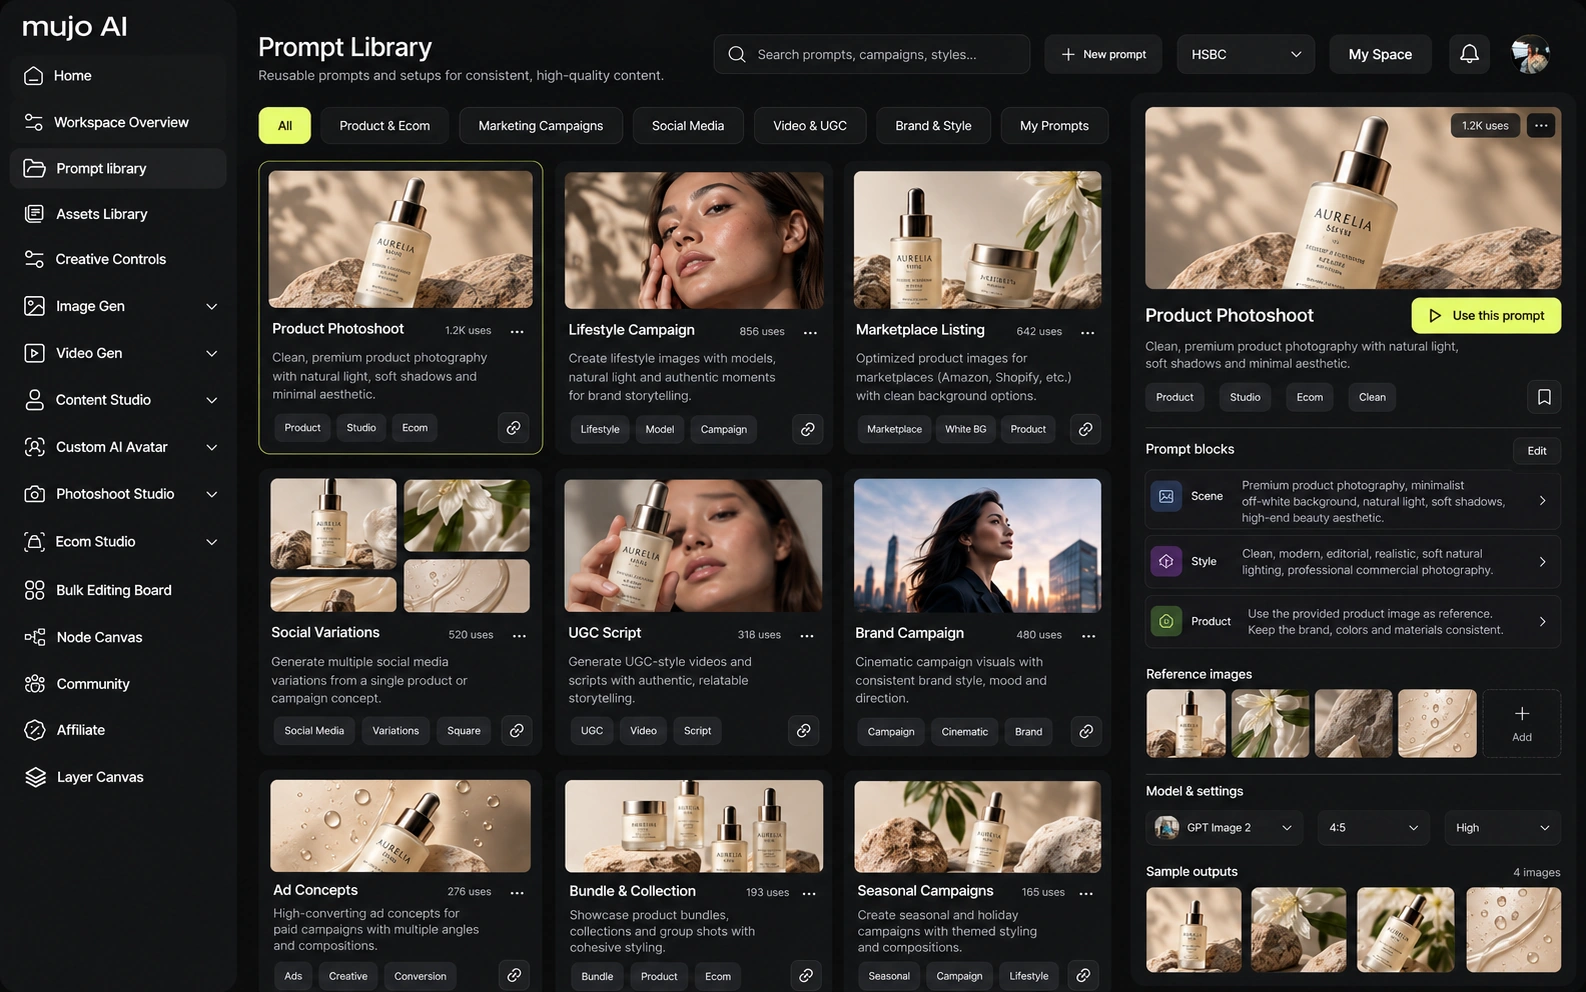
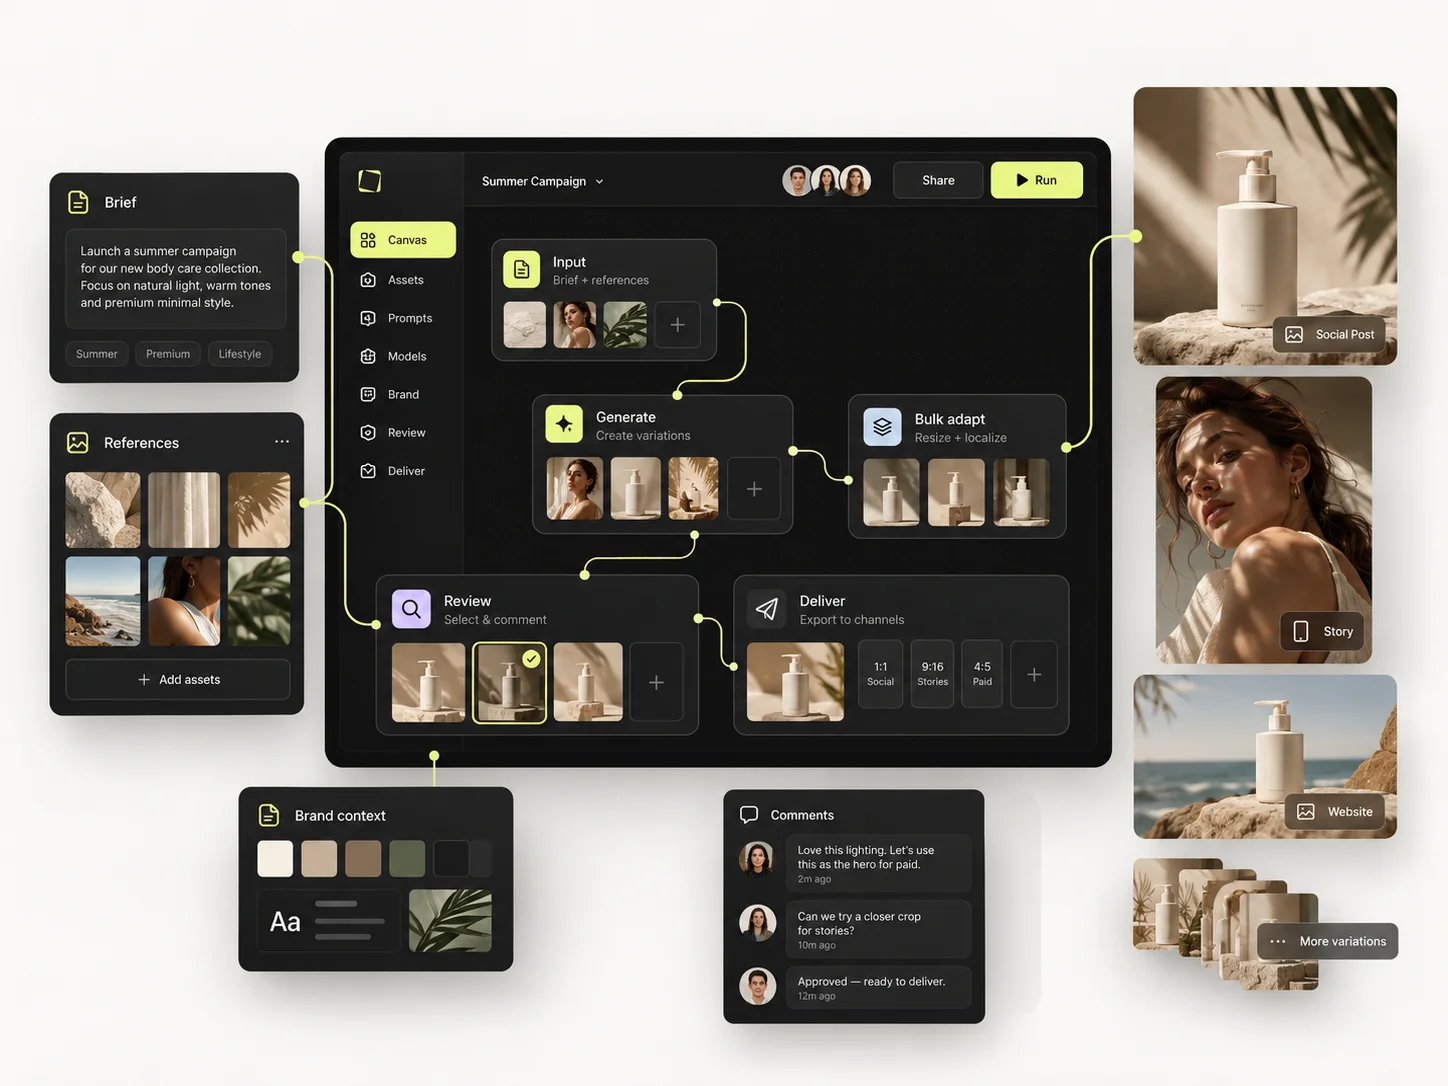
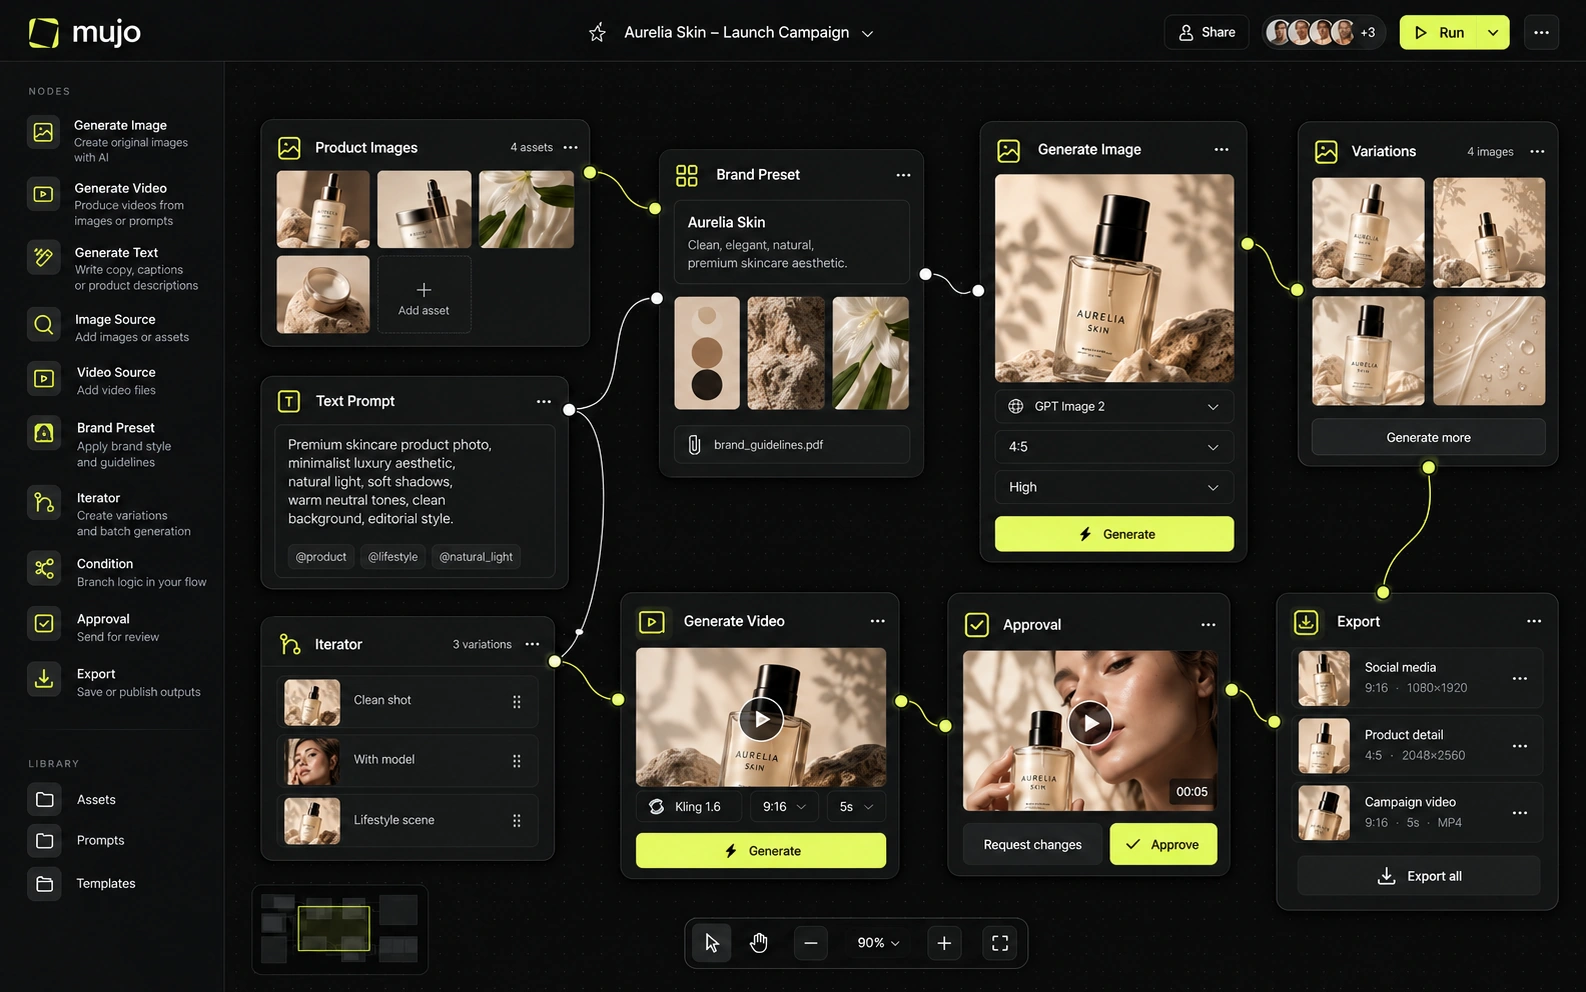
A reusable workflow is your creative process made visible — a sequence of inputs and steps you can inspect, adjust and run again. Instead of remembering which prompt, reference and step came first, the relationship is on the canvas where anyone can read it.
For a first project, keep it small on purpose. Build one path from a source image and a brief to a generated image in the Node Editor. Learn how information moves across the canvas before adding branches, iteration or a second output type.
Most abandoned workflows were abandoned because they were built too large to debug.
The short version
- Pick one goal you can tell has succeeded or failed.
- Build source → instruction → generation → output, and stop there.
- Test once before adding a single extra node.
- Run it on a second input — that is the real test.
- Name nodes by purpose so a colleague can read the graph.
Choose one repeatable goal
Something like: take a product photo and create a studio campaign variation in a consistent visual direction. That is a better first workflow than build an entire campaign automatically, because you can tell whether it worked.
Write down the invariants before you start: the source product stays recognisable, soft studio lighting, 4:5 framing, restrained background. Next time you should be able to swap the product without redesigning any step.
Build a basic sequence
Step 1 — add a source. Start with the product or image input using the source node available on the current canvas, and give it a descriptive label.
Step 2 — add the creative instruction. A short prompt that states the scene, image type and constraints. Resist packing three alternatives into one instruction.
Step 3 — choose generation and controls. Add the generation step available in your workspace and set the relevant Creative Controls where supported. Confirm the displayed cost before running.
Step 4 — connect the sequence. Link source and instruction into the generation step using the valid input and output sockets. Check that each connection carries the kind of information the next step expects.
Step 5 — run a single test. Inspect the output. If the product is wrong, look at the source and the constraints; if the mood is wrong, refine the direction. Do not add nodes while the basic route is still unreliable.
Step 6 — preserve the working logic. Save the project, and save the working branch as a reusable template if the current interface supports it. Use the command the app actually provides.
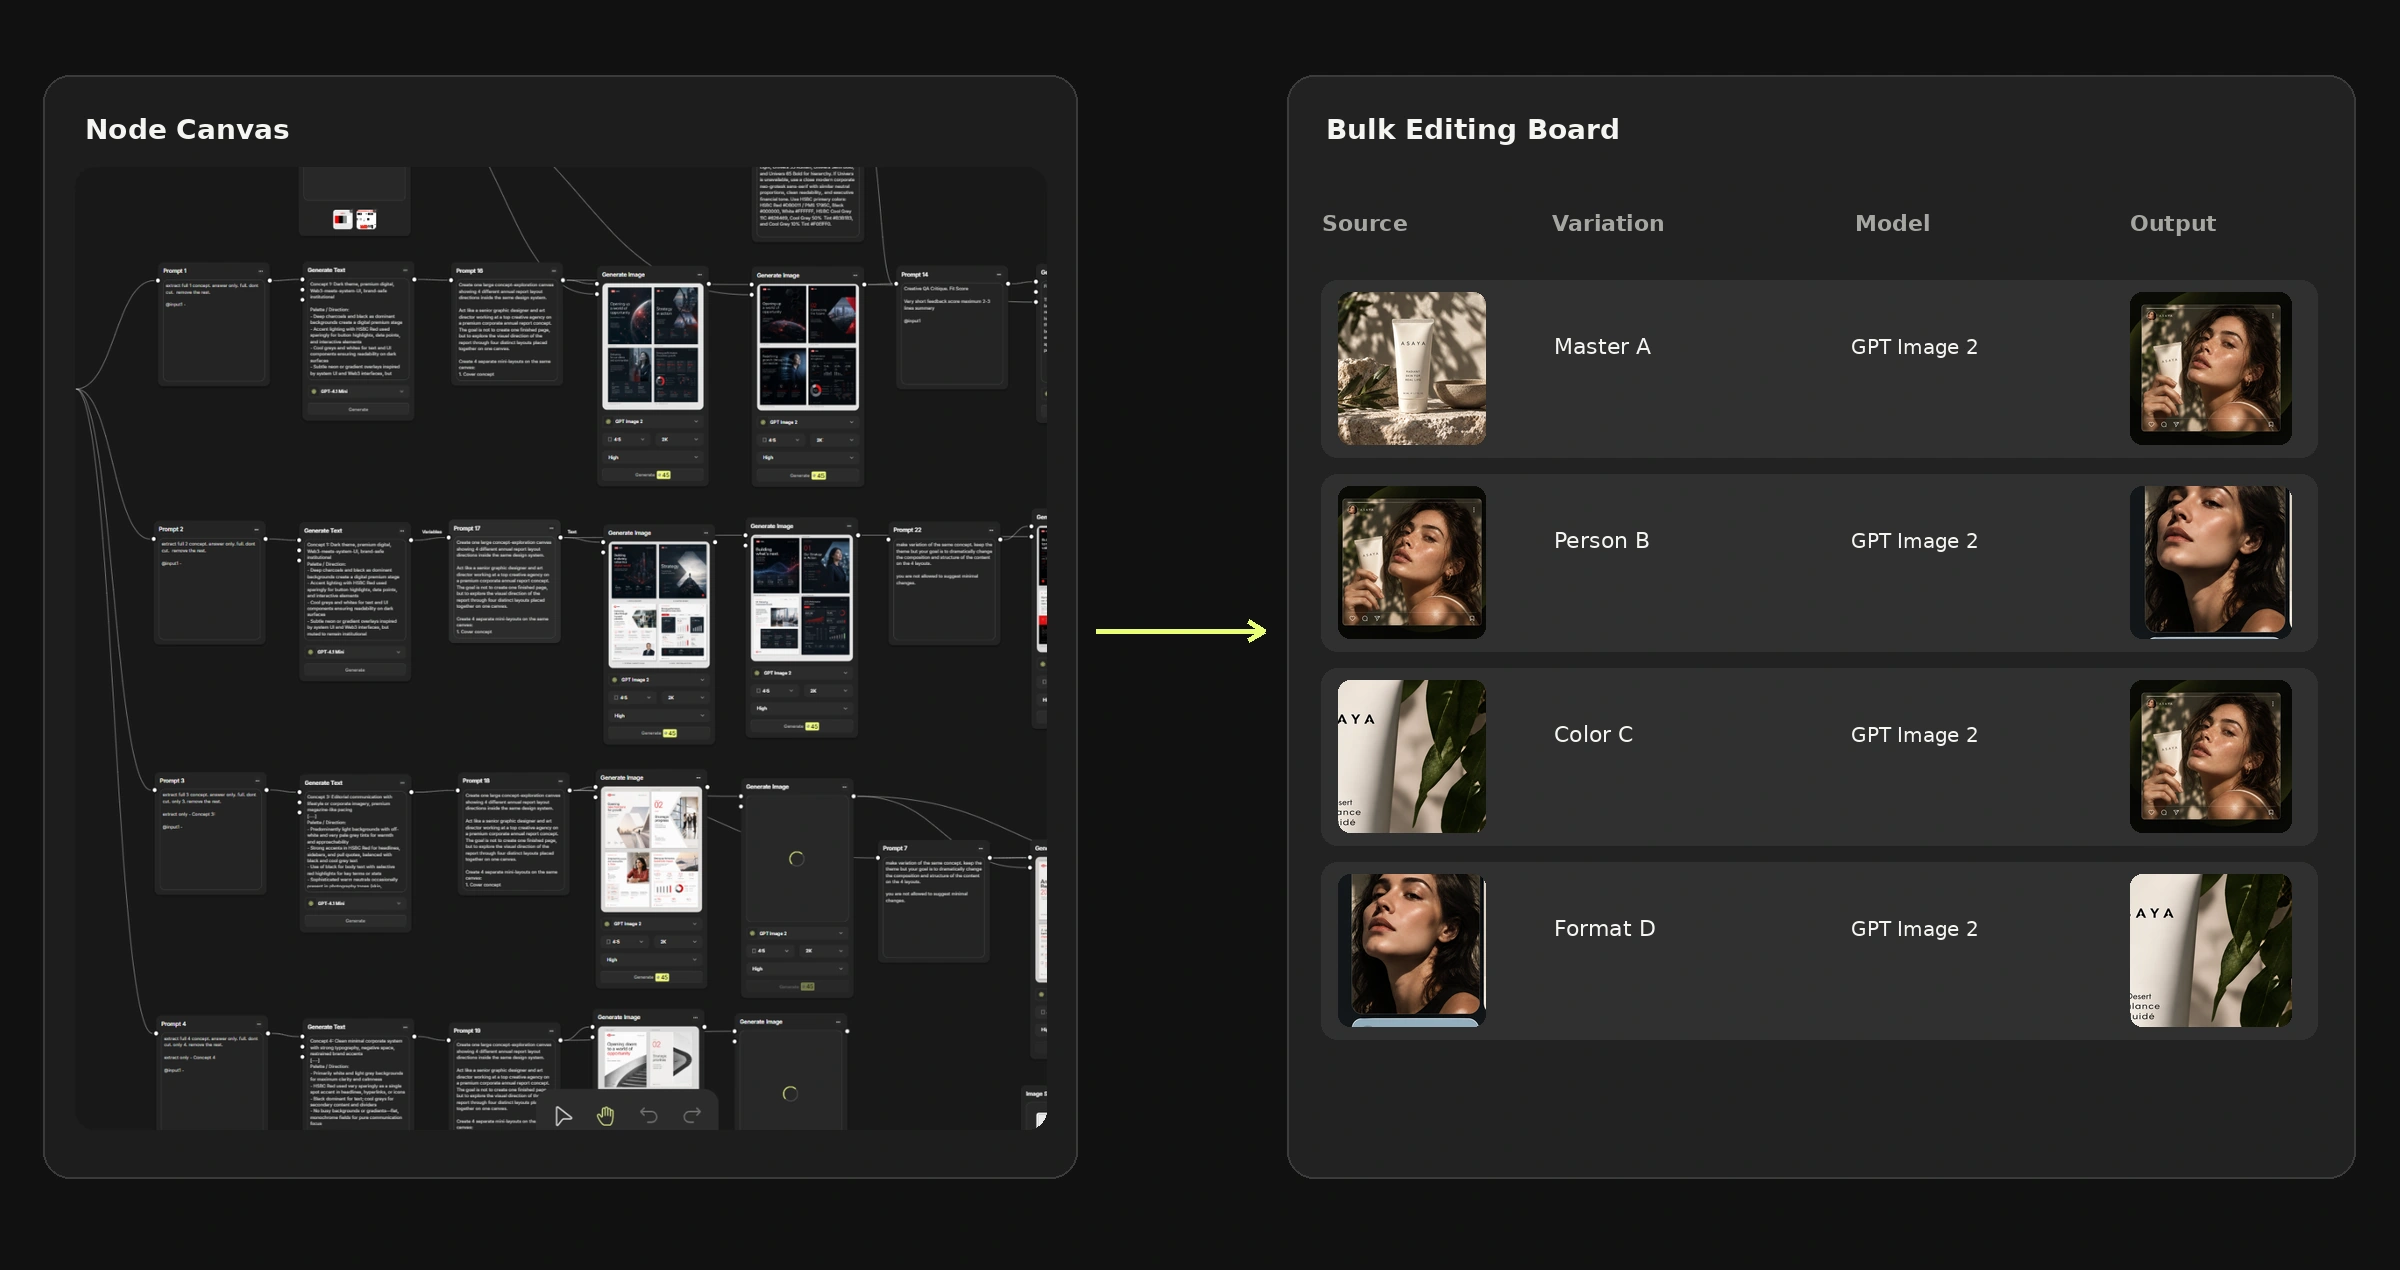
Run it with a second input
Replace the original product with a different one, keep the creative direction stable and run a controlled test. If the second result still fits the intended style, you have something repeatable. If it does not, decide whether the problem is specific to the new product or whether the instructions were quietly dependent on the first image.
Only once that works should you add branches for alternative treatments or an iterator pattern for several inputs, where those are available. A branch compares different treatments; an iterator applies the same logic to many items. They are not the same operation and confusing them produces a graph nobody can debug.
Keep workflows readable
Name nodes by purpose, arrange them in the order information flows, and do not cross connections without a reason. Keep the inputs that change separate from the steps that stay fixed.
For anything larger, write down the assumptions: source format, target ratio, expected output type, and which node decides the visual direction. A workflow stays maintainable exactly as long as its important choices stay visible.
Common beginner mistakes
- Building a large graph before testing the first path.
- Feeding it a source whose quality was never good enough for the job.
- Leaving a creative instruction ambiguous or self-contradictory.
- Confusing a branch with running the same process over multiple items.
- Experimenting further without saving the version that worked.
- Assuming a workflow guarantees the same result across different models or inputs.
First-workflow checklist
- □One clear repeatable output goal.
- □Source and prompt inputs are named and connected correctly.
- □The generation step and its displayed credit cost have been reviewed.
- □At least one successful test output has been inspected.
- □A second input has been tested.
- □The working project or reusable setup is preserved.
Frequently asked questions
Is the Node Editor only for advanced users?
No. A small source-to-output graph is a reasonable first afternoon. Branches and repeated operations come later, when the task asks for them.
What is the difference between a branch and a batch?
A branch explores different creative treatments. A batch or iterator applies one process to several inputs. Use whichever matches the job and the current interface.
Can one workflow handle both image and video?
Mujo provides both image generator and video generator tools. Which connections are possible depends on the node types available in the current editor, so verify supported inputs and outputs before building a combined pipeline.
Related guides
- How to Save and Reuse Your Best AI Creative Setups
- How to Produce Creative Variations in Bulk
- How to Use Reference Images and Creative Controls
Turn one useful process into a reusable workflow.
Build it small, test it twice, and let the next brief change only what has to change.