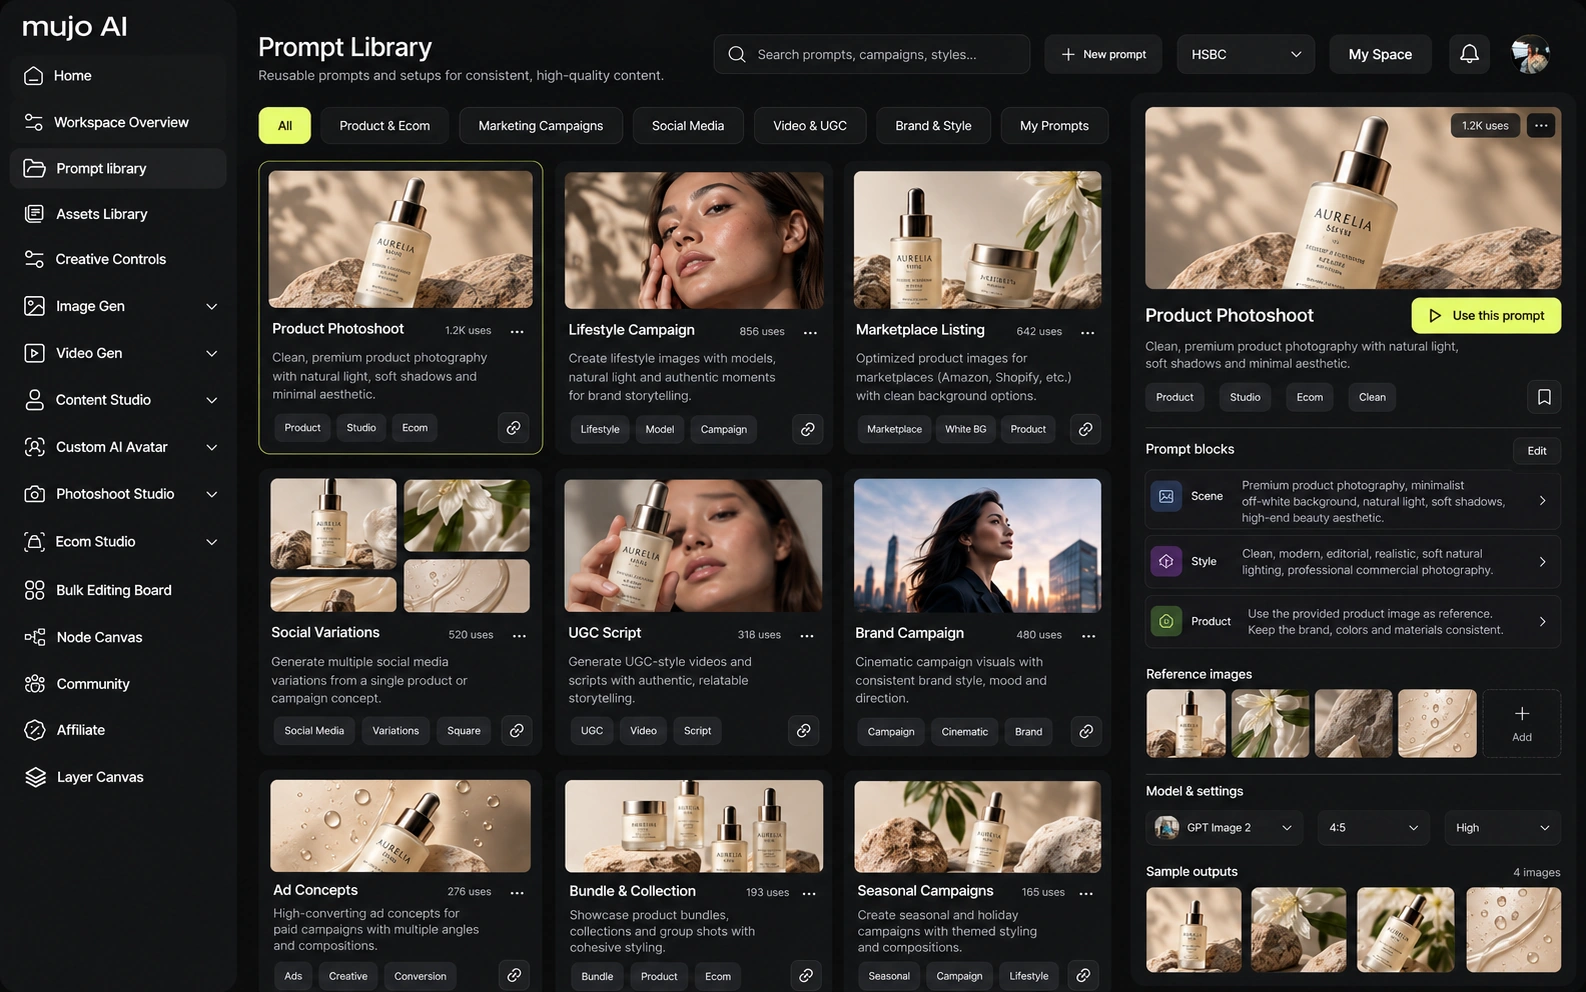
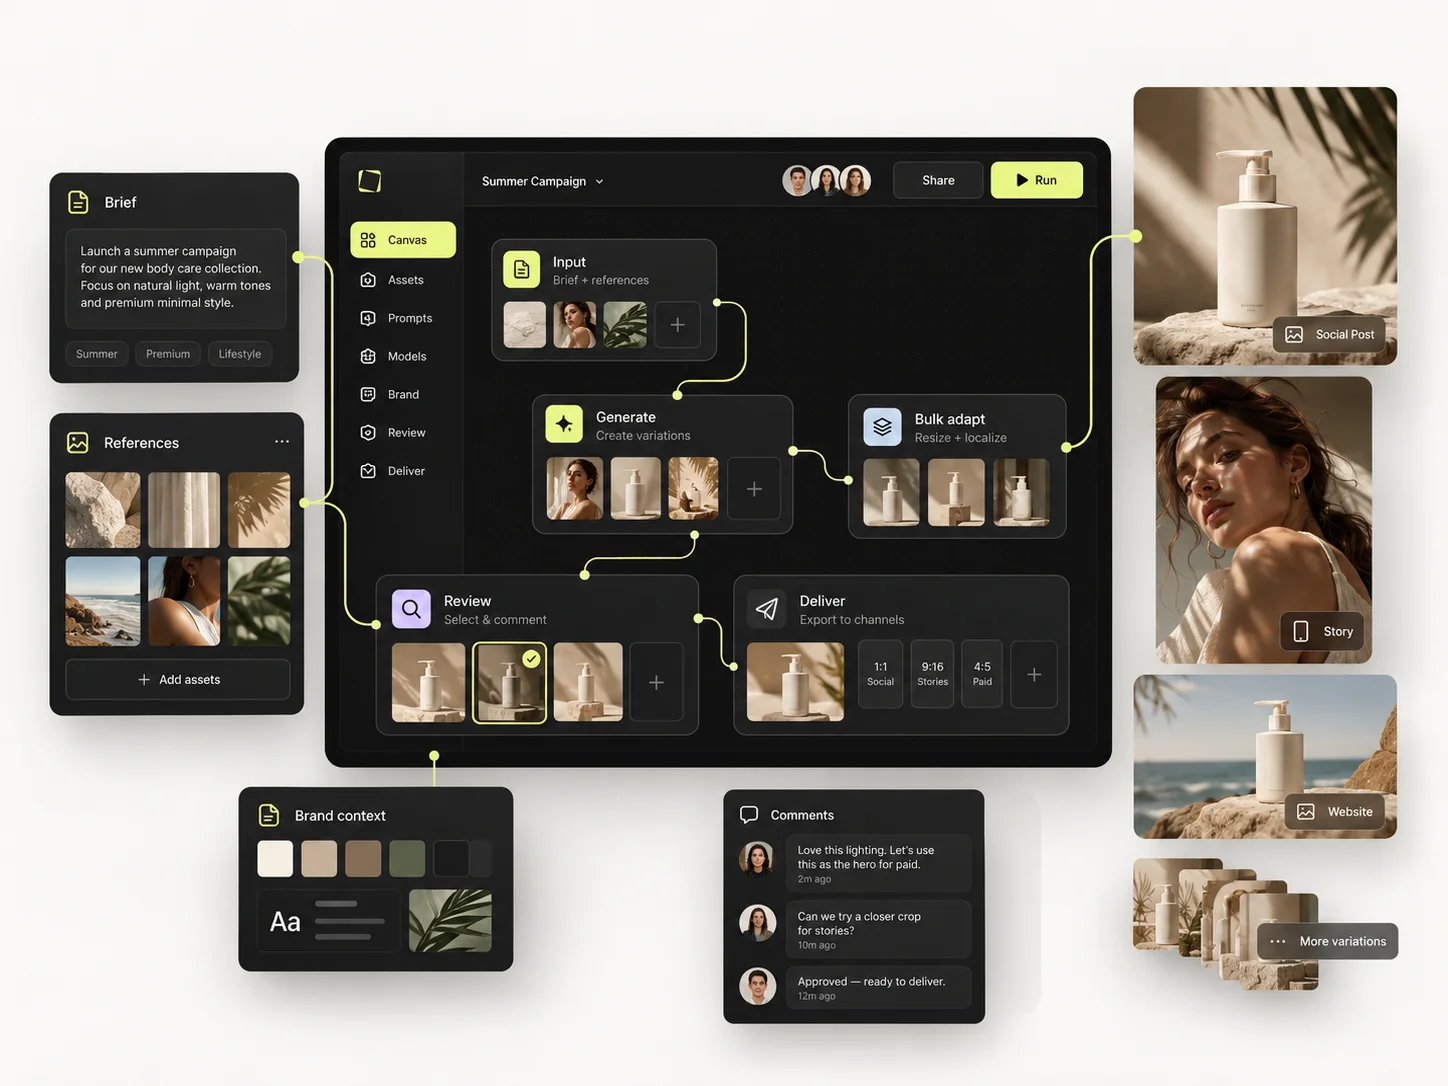
A reference shows what matters; a control states what should change. Prompts carry ideas well and are vague about exactly which shape, angle or lighting pattern you meant — which is what references and controls are for.
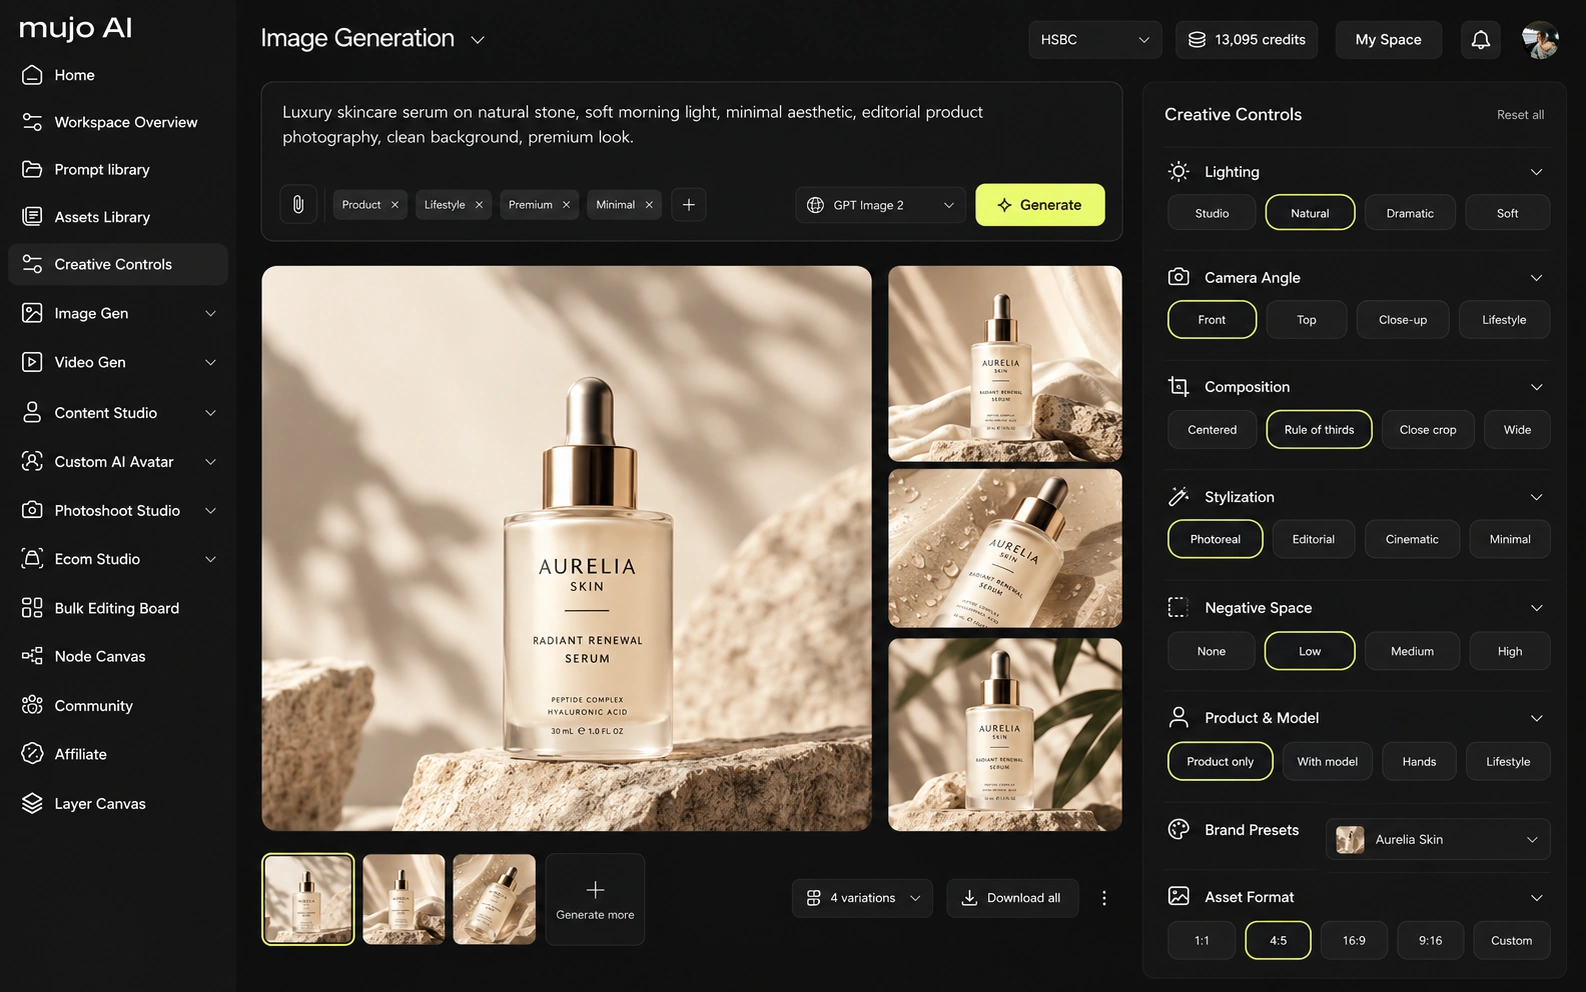
The aim is not a longer prompt. It is making the role of each input clear, so you can change one thing without losing the others. Creative Controls help state the intended result systematically: a low camera angle, soft side lighting, a restrained palette, a particular crop.
Most disappointing results come from inputs that quietly contradict each other.
The short version
- Decide what each reference is guiding before you attach it.
- One clear reference beats five that disagree.
- Set the controls that matter, not every control available.
- Models interpret references differently — review, do not assume.
- References improve guidance; they do not guarantee fidelity.
Give every reference a job
Before attaching an image, decide what it is guiding. The same photograph can serve different purposes, but several references pulling different ways will produce something that satisfies none of them.
- Subject or product — the shape, material, clothing or identity that must survive.
- Composition — placement, crop, perspective, pose.
- Lighting and mood — shadow direction, time of day, contrast, atmosphere.
- Style — palette, material treatment, editorial look.
For product work, the product reference should be a clear photograph of the actual product. A separate lighting example can carry atmosphere, but it should not quietly replace the packaging design. For a recurring character, keep the character reference stable and inspect each frame for drift.
Use controls to reduce ambiguity
- Choose one clear reference and state its purpose.
- Write the desired output: what the subject is doing, where it is, what the image is for.
- Set the relevant Creative Controls — camera and framing, lighting, composition — rather than filling in every control because it is there.
- Generate a small test set.
- Compare what actually changed against the target you wrote down.
- Preserve the controls and references that worked for the next iteration.
Not every model interprets references and controls the same way. Use the options the selected model supports, and rely on reviewing output rather than assuming every setting behaves as a hard constraint.
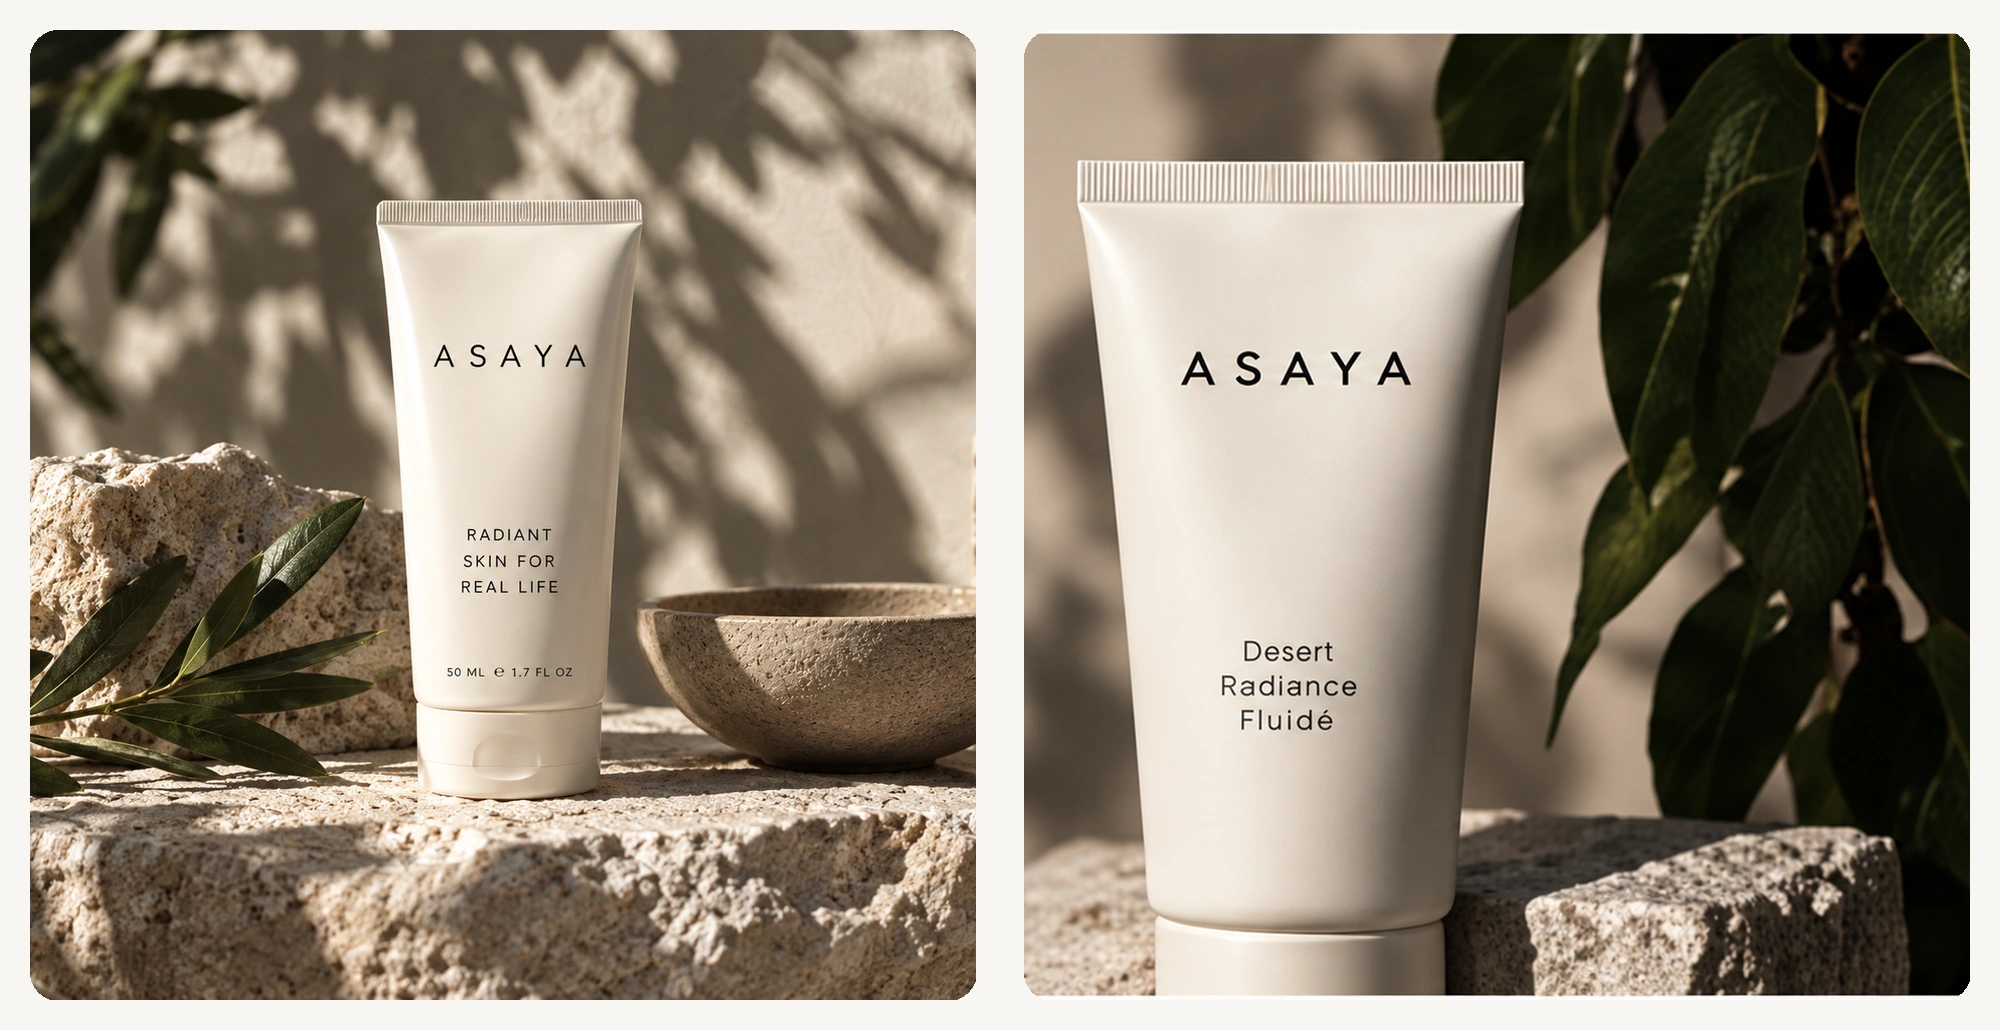
Example: one product, two lighting directions
Constant: the same source photograph of a matte cream cosmetic tube, front-facing, readable silhouette, 4:5 output.
The product reference and framing stay stable while lighting and background change. Compare the two side by side and inspect the label, cap, shape and texture — not how appealing the thumbnail looks.
Use the uploaded product image as the subject reference.
Create [scene and context]. Keep [important product details].
Camera:     [angle and framing]
Lighting:   [source and direction]
Background: [environment and palette]
Output:     [format and intended use]
This is an editorial framework, not a prompt to paste. Adapt it to the actual control labels and the requirements of the model you selected.
What references cannot guarantee
References improve guidance. They do not guarantee pixel-identical faces, accurate packaging text, correct logos, exact material properties or a flawless sequence. Inspect fine detail before anything commercial ships.
When a result drifts from the source, work out which of three things happened: the reference was unclear, the model has a limitation, or the prompt asked for changes that contradict the reference. The fix differs in each case.
For a series, lock the important references and a small set of style decisions first. Explore poses, crops and backgrounds afterwards — in that order, not the reverse.
Common mistakes
- Attaching four references and hoping the model will average them sensibly.
- Using a lighting reference that overrides the product's own packaging.
- Setting every available control instead of the two that matter.
- Judging product fidelity at thumbnail size.
- Assuming a control behaves identically across different models.
Reference and control checklist
- □I know what each reference is meant to guide.
- □The main subject is clear and unobstructed.
- □My prompt and controls do not contradict each other.
- □I am using settings supported by the selected model.
- □I review fine details at full size.
- □I keep the useful setup for later work.
Frequently asked questions
Do reference images replace prompts?
No. References supply visual context; prompts and controls describe the action, environment and changes. They do different jobs and work together.
Can a reference keep a product or person consistent?
It improves continuity. Perfect fidelity is not guaranteed, so review outputs and keep the same references across the series.
Why do the same controls behave differently across models?
Models differ in capability and in how they interpret inputs. Use the supported options and compare real outputs rather than assuming identical behaviour.
Related guides
- How to Save and Reuse Your Best AI Creative Setups
- How to Build Your First Reusable AI Workflow in Mujo
- How to Use Fewer AI Credits Without Sacrificing Quality
Make your creative direction easier to repeat.
Name what each reference is for, set only the controls that matter, and keep what worked.