How to Prepare Better Photo Inputs for AI
Improve AI image generation results with cleaner references, better lighting, sharper product photos, and stronger input structure
How to Prepare Better Photo Inputs for AI
Use clean, clear, well-lit images to get stronger AI photos, edits, references, and product visuals
Better photo inputs create better AI outputs. Whether you are generating AI headshots, product photos, image-to-image edits, AI photoshoots, social creatives, or reference-based visuals, the quality of the uploaded image directly affects how well the AI can understand the subject, product, composition, lighting, and details. A strong input photo gives the model clear visual information: sharp subject edges, clean lighting, visible product shape, accurate colors, simple framing, and enough detail to preserve what matters. A weak input photo can create confusing results, distorted details, inconsistent identity, poor product accuracy, or unnecessary generation errors. This guide explains how to prepare better photo inputs for AI workflows in Mujo: what makes a good source image, what to avoid, how to prepare portraits and product photos, and how to use references more effectively for consistent AI-generated results.
Start Creating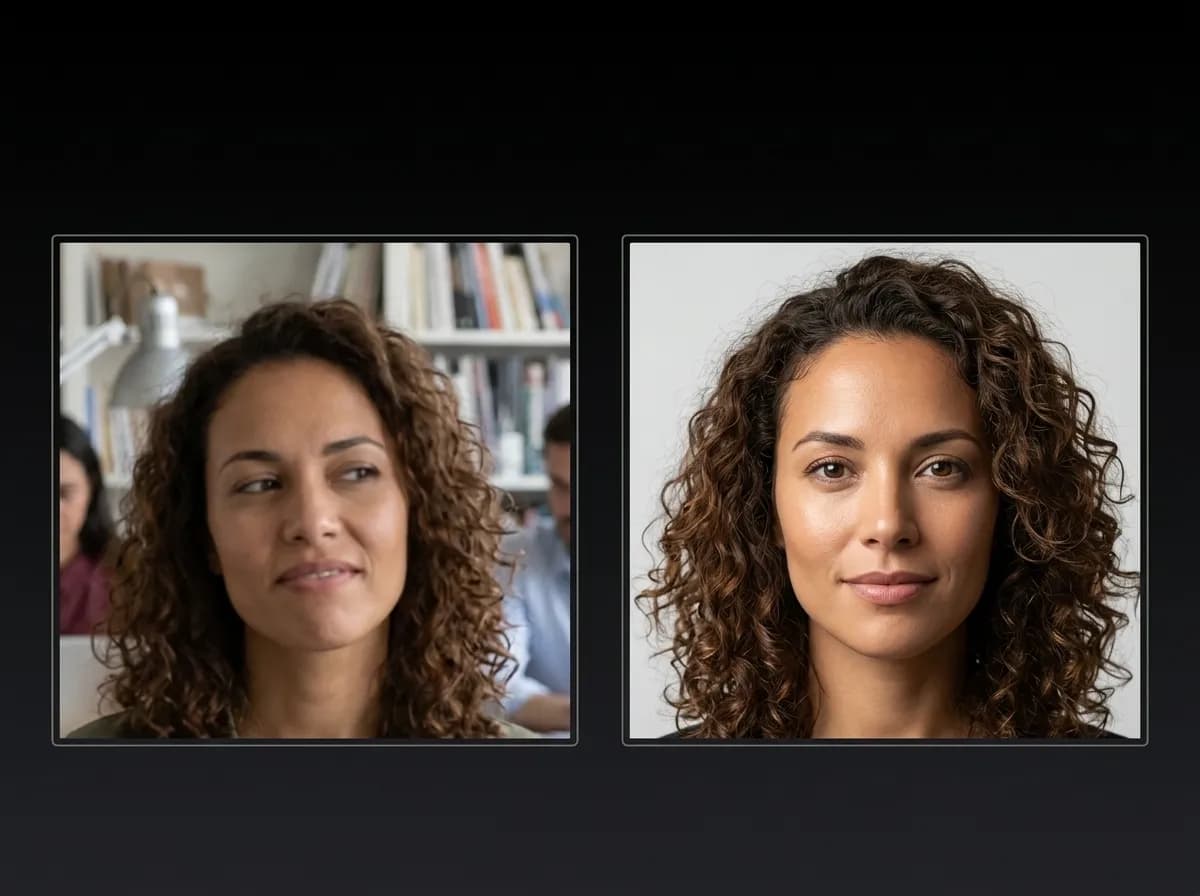
Why photo inputs matter for AI generation
The AI can only preserve what it can clearly understand
Photo inputs act as visual instructions for AI image generation. When you upload a portrait, product photo, reference image, or composition example, the model reads that image to understand identity, shape, pose, lighting, styling, background, camera angle, material, and visual structure. If the input photo is sharp, well-lit, and clearly framed, the AI has a stronger foundation. It can preserve facial structure, product design, packaging, color, material, or composition more accurately. If the photo is blurry, dark, cropped poorly, overfiltered, noisy, or cluttered, the model has less reliable information and may invent details. This is especially important for workflows where consistency matters: AI headshots, product photography, ecommerce visuals, image-to-image editing, fashion photoshoots, reference-based character generation, and product-to-video workflows.
Explore Image to ImageWhat makes a good AI photo input
Clean visual information helps the model generate more accurate outputs
Learn Reference ImagesSharp subject
The face, product, or object should be in focus with enough visible detail.
Clean lighting
Soft, even lighting helps preserve shape, color, skin tone, materials, and product details.
Simple background
Less clutter makes it easier for the AI to understand what matters in the image.
Clear framing
The full subject or product should be visible without important parts cropped out.
How to prepare better photo inputs for AI
A simple workflow for cleaner, more consistent AI-generated images
Choose the clearest image
Start with a sharp photo where the main subject, face, product, or object is easy to identify.
Check lighting and shadows
Use images with balanced lighting. Avoid extremely dark shadows, blown-out highlights, and heavy color casts.
Remove visual distractions
Choose a clean background or crop the image so the AI can focus on the subject or product.
Keep important details visible
Make sure faces, hands, product packaging, labels, materials, or key design elements are not hidden or cropped.
Use the right image for the goal
Use portraits for headshots, product images for ecommerce workflows, and composition references for framing or style.
Pair the input with a clear prompt
Tell the AI what to preserve and what to change so the uploaded photo supports the final output.
Types of photo inputs you can use
Different AI workflows need different kinds of source images
The best input depends on what you want to create. A product photo, portrait, style reference, and composition reference all guide the AI in different ways.
Explore AI PhotoshootPortrait inputs
Use clear face photos for AI headshots, professional portraits, profile images, and AI photoshoots.
Product inputs
Use clean product photos for ecommerce visuals, listing images, lifestyle scenes, and campaign assets.
Style references
Use images that show color palette, mood, texture, lighting, or aesthetic direction.
Composition references
Use images that show camera angle, framing, subject placement, or layout structure.
Pose references
Use images with clear body position, stance, gesture, or model direction.
Campaign references
Use existing brand visuals to guide creative direction, scene quality, and visual consistency.
How to prepare portrait photos for AI
Better portraits create better AI headshots, avatars, and photoshoots
For AI headshots and AI photoshoots, the input portrait should clearly show the face, hairstyle, facial structure, and general identity. Use a photo with natural expression, visible eyes, balanced lighting, and minimal distortion. Avoid extreme angles, heavy filters, sunglasses, motion blur, harsh shadows, low-resolution selfies, and images where the face is too small in the frame. These issues make it harder for AI to preserve identity and create polished portrait results. A good portrait input does not need to be professionally shot. It only needs to be clear, well-lit, and visually readable. The stronger the input, the easier it becomes to generate professional headshots, editorial portraits, creator profile images, and consistent AI photoshoot variations.
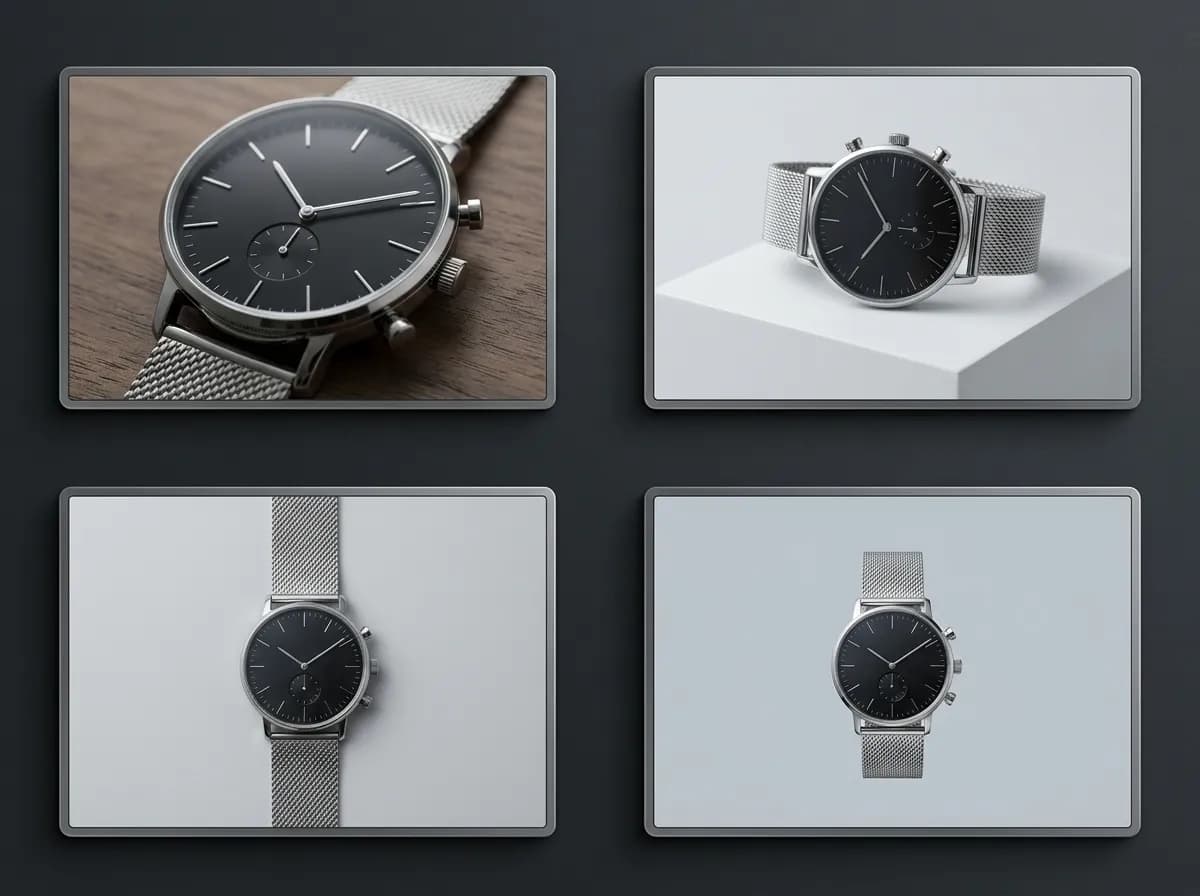
Explore AI HeadshotsHow to prepare product photos for AI
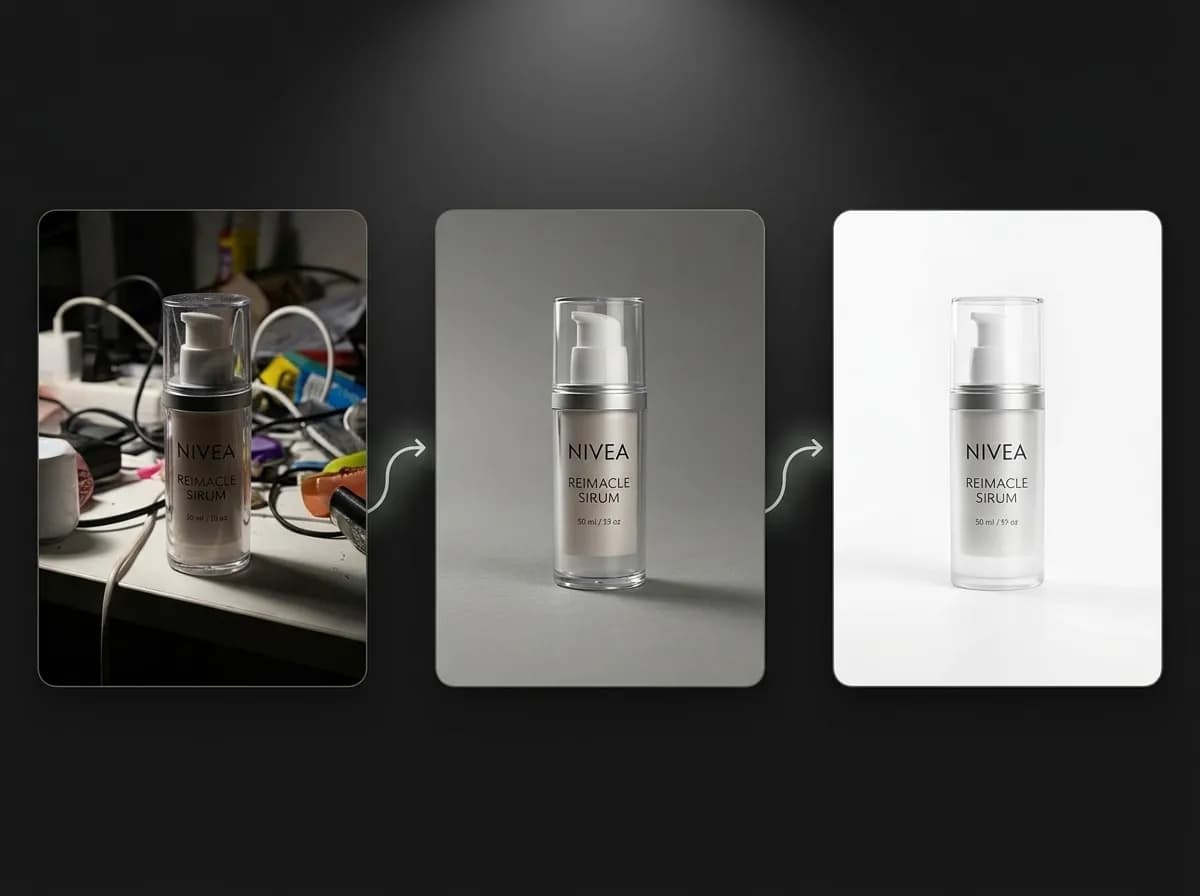
Cleaner product inputs improve ecommerce visuals and campaign outputs
For AI product photography, the product input should make the item easy to identify. The AI needs to understand the product shape, packaging, material, color, logo placement, and key design elements.
Explore AI Product PhotographyUse a clean product image
A simple product photo or cutout usually works better than a cluttered lifestyle scene.
Keep the full product visible
Avoid cropping important edges, labels, handles, packaging, or product details.
Show accurate color and material
Balanced lighting helps preserve metal, glass, fabric, plastic, gloss, texture, and packaging color.
Avoid heavy reflections
Too much glare can confuse product shape and surface details.
Use high resolution when possible
Sharper inputs help preserve fine details, labels, textures, and product structure.
Use one main product per input
If the image contains too many objects, the AI may misunderstand what should be preserved.
Strong photo inputs vs weak photo inputs
Why input quality changes the final AI output
AI can improve visuals, but it still needs a strong source image. Better inputs reduce confusion, improve consistency, and make outputs easier to use in real workflows.
Explore Product PhotosStrong photo inputs
Sharp subject or product
Balanced lighting and visible details
Clean background or clear visual hierarchy
Important elements fully visible
Accurate color and material information
Clear relationship between input and final goal
Weak photo inputs
Blurry, noisy, or low-resolution images
Harsh shadows or blown-out highlights
Cluttered background with too many objects
Important parts cropped or hidden
Heavy filters that distort skin, color, or material
Unclear purpose for the uploaded image
Photo input preparation checklist
Input factor | Good input | Problem input |
|---|---|---|
Sharpness | Subject or product is clearly in focus | Blurred face, soft product edges, or motion blur |
Lighting | Soft, even, readable lighting | Too dark, too bright, harsh shadows, or color cast |
Framing | Important details are fully visible | Face, hands, product edges, or labels are cropped |
Background | Clean or easy to separate from the subject | Cluttered, busy, or visually confusing |
Identity details | Face, product shape, packaging, or design is readable | Key identity details are hidden or distorted |
Workflow fit | Image matches the goal of the AI output | Reference does not support the intended result |
Best rule
Use the clearest image you have.
Make sure the AI can see what it needs to preserve.
Pair the image with a prompt that explains what should change.
Use this checklist before starting an image-to-image, AI photoshoot, product photo, or reference-based workflow.
Prompt tips when using photo inputs
Tell the AI what to preserve and what to change
Photo inputs work best when the prompt gives clear direction. Do not assume the AI knows which parts of the image matter most.
Read Reference Images GuideInclude these in your prompt
What should stay the same: face, product, shape, outfit, packaging, pose, or composition
What should change: background, lighting, style, scene, mood, or camera angle
Final use case: headshot, product photo, social creative, ad, listing image, or photoshoot
Visual style: realistic, editorial, ecommerce, studio, cinematic, lifestyle, or premium
Quality direction: clean, sharp, well-lit, natural, high detail, consistent
Any limits: do not change product shape, do not alter identity, keep logo visible
Avoid these mistakes
Uploading a reference without explaining the goal
Asking for too many changes at once
Using vague prompts like make it better
Not saying what must be preserved
Combining conflicting styles and references
Using a poor input and expecting perfect consistency