Product Photography Lighting Techniques That Sell
Lighting shapes how customers judge quality, texture, trust, and value before they read a single word on the product page.
In ecommerce, customers buy with their eyes first. Before they understand the material, the construction, or the value of the product, they react to what the image makes them feel. Strong lighting helps them sense texture, shape, precision, and finish. Weak lighting makes even a good product look flat or untrustworthy.
This guide explains how to light product photography for ecommerce in a way that supports both clarity and conversion. It covers natural light, studio setups, modifiers, lightboxes, advanced techniques for difficult materials, and the link between lighting style and selling context.
The Psychology of Light: Why It Affects Sales
Light is not only technical. It is emotional. Different lighting styles send different signals to the customer.
| Lighting Style | What It Communicates |
|---|---|
| Soft, Diffused Light | Luxury, softness, calm, high value, approachability |
| Hard, Directional Light | Texture, drama, ruggedness, precision, intensity |
| Flat, Even Light | Clarity, honesty, utility, catalog-style accuracy |
The right question is not simply how to light a product. It is what kind of message the light should send. A beauty serum, a steel tool, and a cozy sweater should not all be lit the same way.
Part 1: Mastering Natural Light
Natural light remains one of the best starting points for ecommerce photography. It is accessible, flattering, and capable of producing premium-looking images when controlled correctly.
1. The North-Facing Window Principle
If you are using window light, a north-facing window in the Northern Hemisphere is especially useful because it tends to provide consistent, indirect light. The result is softer and less harsh than direct sunlight. If that is not available, an overcast day can create a similarly diffused effect.
2. Diffusion Turns Harsh Light into Soft Light
Direct sunlight creates strong contrast and sharp shadows. To soften it, place a translucent material between the window and the product. A sheer curtain, tracing paper, or a white sheet can all work as a basic diffusion layer.
This increases the apparent size of the light source and makes the light wrap around the product more gracefully.
3. One Window, One Reflector
This is one of the most effective low-cost setups for ecommerce photography.
- Place the product beside a diffused window
- Let the window act as the main light source
- Place a white foam board or reflector on the opposite side
The reflector bounces light back into the shadow side of the product, reducing contrast while still keeping dimensionality. This creates a simple two-sided lighting effect with minimal equipment.
4. Flat Lay Lighting
For overhead shots, place the scene under or beside the window and use a reflector to open the darker side. Flat lays often work best when the lighting remains soft and balanced, especially if several objects need to remain equally readable in the frame.
Part 2: Studio Lighting and Full Control
Artificial lighting becomes important when you need repeatability, consistency, or complete control over the look of the product. This is especially useful for brands that shoot large catalogs or need the same visual standard across many SKUs.
For ecommerce, the most common options are continuous lights such as LEDs and flash-based studio lights. What matters most is not only the light itself, but also the modifier attached to it.
Key Light Modifiers
- Softbox: the most common modifier for ecommerce, producing broad, soft light
- Stripbox: useful for tall or cylindrical products such as bottles and shoes because it creates long, elegant highlights
- Octabox: creates soft, rounded light and is often useful for beauty products and larger items
- Beauty Dish: gives a slightly harder but still controlled light, helpful for more dramatic or fashion-oriented product visuals
- Grid: narrows and controls light spill so the photographer can keep certain areas dark or more contained
Part 3: Professional Lighting Schematics for Ecommerce
Most ecommerce product photography can be handled with a few core setups. The right one depends on whether the goal is simple clarity, soft premium presentation, or stronger visual drama.
Scheme A: The Classic Soft Product Setup
Goal: natural-looking volume and soft shape definition.
Setup: one softbox at a 45-degree angle above and to the side of the product, plus a white reflector on the opposite side.
Why it works: the main light creates shape, while the reflector lifts the shadows enough to preserve detail. The result feels dimensional but still clean.
Scheme B: The High-Key Catalog Setup
Goal: white background, minimal shadows, and maximum clarity.
Setup: two softboxes placed left and right, both aimed toward the product and background.
Why it works: the dual lighting reduces shadow intensity and supports a bright, neutral presentation that works well for marketplaces such as Amazon and other catalog-driven environments.
Scheme C: The Hero Shot Setup
Goal: stronger depth and premium separation from the background.
Setup: key light, fill light or reflector, and a rim or kicker light behind the product.
Why it works: the rear light outlines the edge of the product and helps it stand out from the background. This creates a more polished, premium feel that works well for homepage banners or standout listing assets.
Part 4: Reflectors, Flags, and Diffusers
Good product lighting is not only about adding more light. It is also about controlling where light goes and where it does not.
Reflectors
- White: soft, neutral fill light and the most useful option for ecommerce
- Silver: stronger, punchier reflection that can add sparkle and contrast
- Gold: warmer reflection, useful in specific mood-driven scenes but risky for accurate product color
Flags
A black flag or black card removes light rather than reflecting it. This is especially helpful for reflective objects where you want to darken unwanted reflections or add shape with controlled shadow.
Diffusers
A diffuser softens a light source by making it larger relative to the product. This is useful when the original source is too small or too harsh. Diffusion is one of the simplest ways to make a product image feel more expensive.
Part 5: The Lightbox as a Speed Tool
A lightbox, or light cube, can be extremely useful for small businesses and marketplace sellers who need quick, repeatable product shots for small to medium items.
It is essentially a white diffusing enclosure. The product sits inside, while lights shine from the outside through the fabric walls. This creates soft, even lighting and reduces harsh shadows.
Best for:
- cosmetics
- small electronics
- jewelry
- kitchenware
- collectibles
Even with a lightbox, external lights still matter. Two simple lights placed on either side usually produce the most balanced result.
Part 6: Advanced Techniques for Complex Products
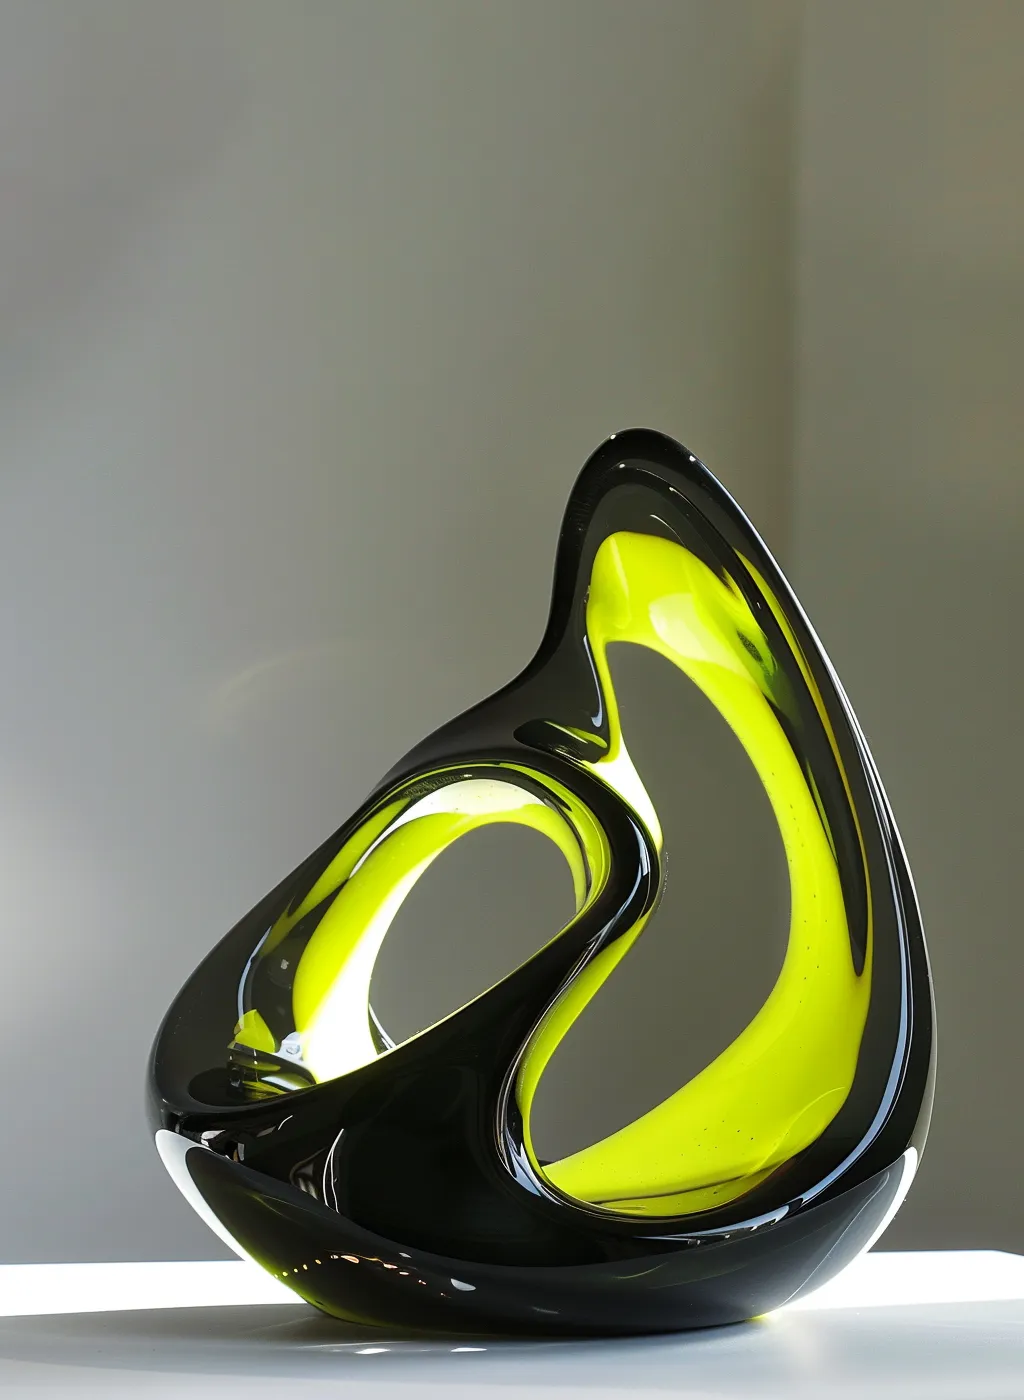
1. Glass and Liquids
Transparent objects are difficult because they do not show themselves the way opaque objects do. Instead of lighting the glass directly, the photographer often lights around it or behind it so the edges and refractions become visible.
This approach can make glass products feel more luxurious, especially when paired with controlled highlights and darker backgrounds.
2. Metal and Highly Reflective Surfaces
Metal reflects everything around it, including the room, the camera, and the photographer. A common solution is to surround the product with large white surfaces or diffusion material so that what the metal reflects is soft and clean rather than distracting.
This creates smoother gradients and avoids ugly hotspots.
3. Color Temperature
Light has color. Daylight-balanced lighting is generally the safest choice for ecommerce because it supports more accurate product color and works well on white backgrounds. Warmer light can be useful for mood-driven lifestyle images, but it should be used intentionally.
Important rule: avoid mixing very different color temperatures in the same scene. Inconsistent light color makes editing harder and can damage the perceived professionalism of the result.
Part 7: How Lighting Changes by Sales Context
For Marketplaces
Goal: clarity, compliance, and accuracy.
Use bright, even lighting with minimal distractions. White backgrounds, strong sharpness, and reduced shadow complexity help the customer inspect the product quickly and help the listing align with common marketplace standards.
For Website Hero Images
Goal: emotion and perceived value.
Here, more shape and drama can be helpful. Controlled shadows and rim lighting often make the product feel more premium and memorable.
For Social Media and Lifestyle Content
Goal: context and aspiration.
The light should feel believable within the setting. A mug in morning light or a home product in warm interior light feels more relatable than a purely clinical studio treatment.
Lighting Setup Checklist
| Goal | Recommended Lighting Approach |
|---|---|
| Clean marketplace main image | Even, bright, high-key light with minimal shadows |
| Premium website hero shot | Soft key light plus controlled shadow and rim separation |
| Budget home shoot | Diffused window light with a white reflector |
| Reflective product | Large diffusion surfaces, flags, and controlled reflections |
| Glass or liquid product | Edge lighting, backlighting, or controlled background illumination |
| Fast small product workflow | Lightbox with two external lights |
Conclusion: Light Is the Language of Quality
Lighting is one of the clearest ways to shape how a product is perceived online. Expensive camera gear cannot rescue weak lighting, while a simple setup with good light control can produce images that feel polished, trustworthy, and conversion-ready.
The best next step is practical. Test a window setup. Use a reflector. Try one softbox. Compare the effect of flat light versus directional light on your actual products. Once you start seeing light as a selling tool rather than only a technical requirement, the quality of your visuals usually improves quickly.
And when the photography finally reflects the real quality of the product, the rest of the listing has a much stronger foundation.